之前尝试过在龙芯3A4000上编译运行EPICS,由于3A4000还是mips64指令集,而3A5000则是龙芯的自主指令集loongarch64,适配起来步骤也会有所不同。
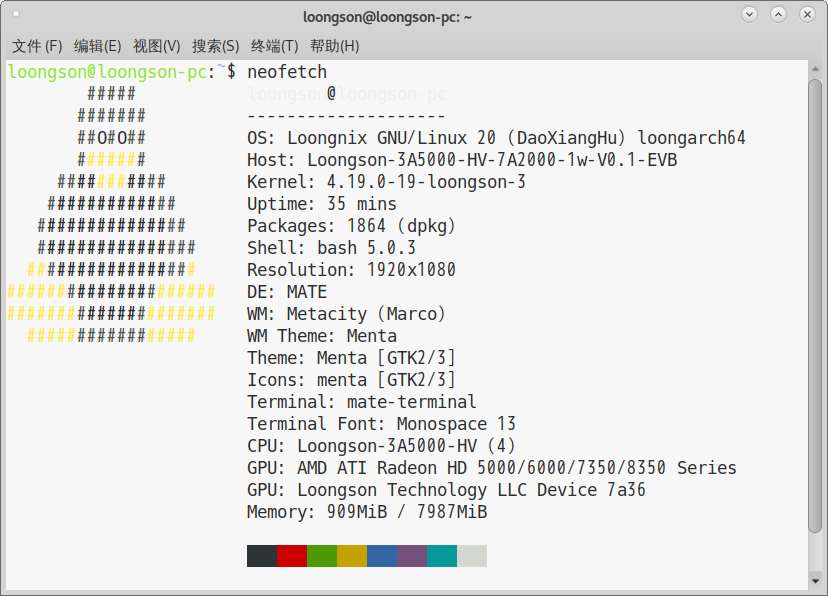
这次使用的是龙博特龙芯3A5000电脑主机。
虽然EPICS官方并没有适配loongarch和mips64,无法做到开箱即用,但只要有gcc、g++、make、perl这些工具,理论上就能编译运行EPICS,在开始编译前,确保你的设备上已经装好了这些工具。
关于如何称呼「龙架构」,龙芯社区也有一些讨论。最初我直接使用loongarch64,后来也使用过la64作为简写,直到我看到如何称呼龙架构?,我觉得有必要和社区保持一致,后续统一使用 loong64 作为架构标识。
下载 base#
这里我们就以目前最新版本7.0.7为例,其它版本的Base也类似。
1
2
3
| $ cd ~/下载/
$ wget https://epics.anl.gov/download/base/base-7.0.7.tar.gz
$ tar -xzvf base-7.0.7.tar.gz
|
你可以在你觉得合适的位置编译安装Base,这里按我们的习惯,放在/usr/local/epics目录下。
1
2
| $ mkdir /usr/local/epics
$ mv base-7.0.7 /usr/local/epics/
|
按照一般步骤,现在就可以开始编译了,我们可以先尝试一下,看看是什么结果。
1
2
3
| $ cd /usr/local/epics/base-7.0.7/
# 执行 `make` 命令
$ make
|
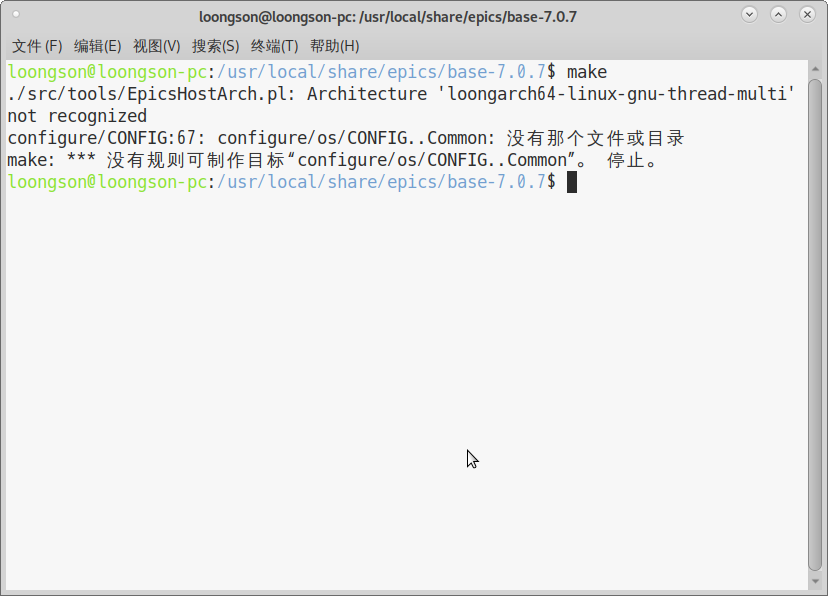
不出所料,果然失败了,输出的错误和在3A4000上编译时的错误也有一些不同。
下面是在3A4000上编译时输出的错误:
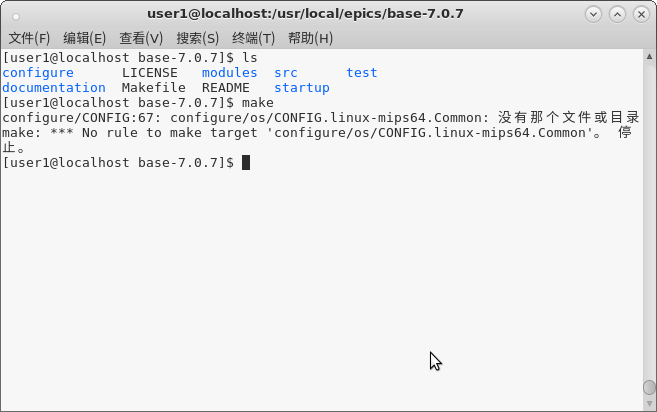
下面一行报错是差不多的,在loongarch64上编译却多了上面一行报错,意思就是没有识别出loongarch64架构。
但是先不要慌,这里同时也给出了报错的位置,让我们看看EpicsHostArch.pl里写了些什么。
1
| $ vi ./src/tools/EpicsHostArch.pl
|
它其实就是一个perl脚本,用来判断当前的系统和cpu架构,而loongarch64显然没有做适配,所以就出现了上面错误。
“Architecture ’loongarch64-linux-gnu-thread-multi’ not recognized”
既然识别不了loongarch64,那我们就手动添加一行,让它可以识别就行了,即使看不太懂上面的脚本也没关系,看个半懂就行了。
 1
 2
 3
 4
 5
 6
 7
 8
 9
10
11
12
13
14
15
16
17
18
19
20
21
22
23
24
25
26
27
28
| sub HostArch {
my $arch = $Config{archname};
for ($arch) {
return 'linux-x86_64' if m/^x86_64-linux/;
return 'linux-x86' if m/^i[3-6]86-linux/;
return 'linux-arm' if m/^arm-linux/;
return 'linux-aarch64' if m/^aarch64-linux/;
return 'linux-ppc64' if m/^powerpc64-linux/;
return 'linux-loong64' if m/^loongarch64-linux/;
return 'windows-x64' if m/^MSWin32-x64/;
return 'win32-x86' if m/^MSWin32-x86/;
return "cygwin-x86_64" if m/^x86_64-cygwin/;
return "cygwin-x86" if m/^i[3-6]86-cygwin/;
return 'solaris-sparc' if m/^sun4-solaris/;
return 'solaris-x86' if m/^i86pc-solaris/;
my ($kernel, $hostname, $release, $version, $cpu) = uname;
if (m/^darwin/) {
for ($cpu) {
return 'darwin-x86' if m/^x86_64/;
return 'darwin-aarch64' if m/^arm64/;
}
die "$0: macOS CPU type '$cpu' not recognized\n";
}
die "$0: Architecture '$arch' not recognized\n";
}
}
|
我们在上面位置添加一行内容,来让它可以识别loongarch64架构。
1
2
3
4
| return 'linux-aarch64' if m/^aarch64-linux/;
return 'linux-ppc64' if m/^powerpc64-linux/;
+ return 'linux-loong64' if m/^loongarch64-linux/;
return 'windows-x64' if m/^MSWin32-x64/;
|
此时我们再执行一下make命令。
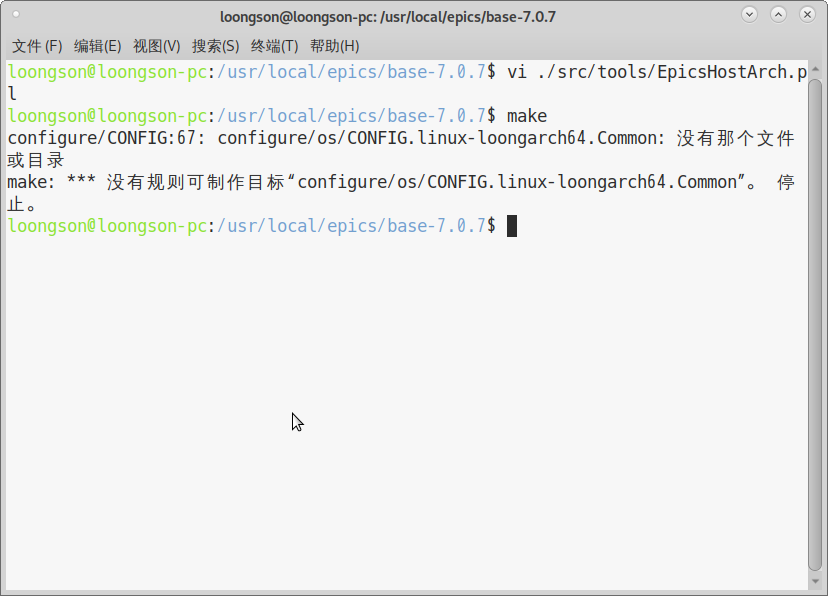
可以看到,现在已经可以识别出loongarch64-linux了,报错和在3A4000上编译时也基本一样了。
以下步骤同样适用于在3A4000(mips64)上编译EPICS,只需要将loong64全部替换为mips64
剩下的报错就是,没有找到对应的编译配置项,我们同样可以仿照已经做了适配的架构来改写,直接按照下面步骤来就可以了。
- 添加 CONFIG.Common.linux-loong64
1
2
3
4
| $ cd configure/os/
# 添加 CONFIG.Common.linux-loong64
$ cp CONFIG.Common.linux-aarch64 CONFIG.Common.linux-loong64
$ vi CONFIG.Common.linux-loong64
|
修改成如下内容:
 1
 2
 3
 4
 5
 6
 7
 8
 9
10
11
12
13
| # CONFIG.Common.linux-loong64
#
# Definitions for linux-loong64 target builds
# Override these settings in CONFIG_SITE.Common.linux-loong64
#-------------------------------------------------------
# Include definitions common to all Linux targets
include $(CONFIG)/os/CONFIG.Common.linuxCommon
ARCH_CLASS = loongarch
ARCH_DEP_CFLAGS = $(GNU_ARCH_CFLAGS) $(GNU_TUNE_CFLAGS)
ARCH_DEP_CFLAGS += $(GNU_DEP_CFLAGS)
|
- 添加 CONFIG.linux-loong64.Common
1
2
3
| # 添加 CONFIG.linux-loong64.Common
$ cp CONFIG.linux-aarch64.Common CONFIG.linux-loong64.Common
$ vi CONFIG.linux-loong64.Common
|
修改成如下内容(内容没有变化,可以不修改):
1
2
3
4
5
6
7
8
| # CONFIG.linux-loong64.Common
#
# Definitions for linux-loong64 host builds
# Sites may override these definitions in CONFIG_SITE.linux-loong64.Common
#-------------------------------------------------------
# Include definitions common to unix hosts
include $(CONFIG)/os/CONFIG.UnixCommon.Common
|
- 添加 CONFIG.linux-loong64.linux-loong64
1
2
3
| # 添加 CONFIG.linux-loong64.linux-loong64
$ cp CONFIG.linux-aarch64.linux-aarch64 CONFIG.linux-loong64.linux-loong64
$ vi CONFIG.linux-loong64.linux-loong64
|
修改成如下内容(内容没有变化,可以不修改):
1
2
3
4
5
6
7
8
| # CONFIG.linux-loong64.linux-loong64
#
# Definitions for native linux-loong64 builds
# Override these definitions in CONFIG_SITE.linux-loong64.linux-loong64
#-------------------------------------------------------
# Include common gnu compiler definitions
include $(CONFIG)/CONFIG.gnuCommon
|
- 添加 CONFIG_SITE.Common.linux-loong64
1
2
3
| # 添加 CONFIG_SITE.Common.linux-loong64
$ cp CONFIG_SITE.Common.linux-aarch64 CONFIG_SITE.Common.linux-loong64
$ vi CONFIG_SITE.Common.linux-loong64
|
修改成如下内容。
 1
 2
 3
 4
 5
 6
 7
 8
 9
10
11
12
13
14
15
16
17
18
19
20
21
22
23
24
25
26
27
28
29
30
31
32
33
34
35
36
37
38
39
40
41
42
43
44
45
46
47
48
| # CONFIG_SITE.Common.linux-loong64
#
# Site Specific definitions for all linux-loong64 targets
#-------------------------------------------------------
# NOTE for SHARED_LIBRARIES: In most cases if this is set to YES the
# shared libraries will be found automatically. However if the .so
# files are installed at a different path to their compile-time path
# then in order to be found at runtime do one of these:
# a) LD_LIBRARY_PATH must include the full absolute pathname to
# $(INSTALL_LOCATION)/lib/$(EPICS_HOST_ARCH) when invoking base
# executables.
# b) Add the runtime path to SHRLIB_DEPLIB_DIRS and PROD_DEPLIB_DIRS, which
# will add the named directory to the list contained in the executables.
# c) Add the runtime path to /etc/ld.so.conf and run ldconfig
# to inform the system of the shared library location.
# Depending on your version of Linux you'll want one of the following
# lines to enable command-line editing and history in iocsh. If you're
# not sure which, start with the top one and work downwards until the
# build doesn't fail to link the readline library. If none of them work,
# comment them all out to build without readline support.
# No other libraries needed (recent Fedora, Ubuntu etc.):
#COMMANDLINE_LIBRARY = READLINE
# Needs -lncurses (RHEL 5 etc.):
#COMMANDLINE_LIBRARY = READLINE_NCURSES
# Needs -lcurses (older versions)
#COMMANDLINE_LIBRARY = READLINE_CURSES
# Readline is broken or you don't want use it:
#COMMANDLINE_LIBRARY = EPICS
# WARNING: Variables that are set in $(CONFIG)/CONFIG.gnuCommon cannot be
# overridden in this file for native builds, e.g. variables such as
# OPT_CFLAGS_YES, WARN_CFLAGS, SHRLIB_LDFLAGS
# They must be set in CONFIG_SITE.linux-loong64.linux-loong64 or for
# cross-builds in CONFIG_SITE.<host-arch>.linux-loong64 instead.
# Tune GNU compiler output for a specific cpu-type
# (e.g. loongarch64, la264, la364, la464 etc.)
GNU_ARCH_CFLAGS = -march=loongarch64
GNU_TUNE_CFLAGS = -mtune=loongarch64
# Enable soft-float feature (e.g. none, 32, 64)
GNU_DEP_CFLAGS = -mfpu=none
|
- 添加 CONFIG_SITE.linux-loong64.linux-loong64
1
2
3
| # 添加 CONFIG_SITE.linux-loong64.linux-loong64
$ cp CONFIG_SITE.linux-aarch64.linux-aarch64 CONFIG_SITE.linux-loong64.linux-loong64
$ vi CONFIG_SITE.linux-loong64.linux-loong64
|
修改成如下内容:
 1
 2
 3
 4
 5
 6
 7
 8
 9
10
11
| # CONFIG_SITE.linux-loong64.linux-loong64
#
# Site specific definitions for native linux-loong64 builds
#-------------------------------------------------------
# It makes sense to include debugging symbols even in optimized builds
# in case you want to attach gdb to the process or examine a core-dump.
# This does cost disk space, but not memory as debug symbols are not
# loaded into RAM when the binary is loaded.
#OPT_CFLAGS_YES += -g
#OPT_CXXFLAGS_YES += -g
|
这里是对编译器的优化选项,暂时不知道怎么改,我就直接注释掉了。
重新编译#
到这里就全部改好了,其实最主要修改的就是第一个文件。下面就可以尝试编译了,这次应该没问题了。
1
2
3
| $ cd /usr/local/epics/base-7.0.7/
# 执行 `make` 命令
$ make -j8
|
接下来就静静等待编译完成。
编译完后查看编译输出目录bin/linux-loong64/(截图比较旧)。

添加到PATH#
为了方便以后使用,我们将编译输出的可执行文件目录添加到PATH。
1
2
3
4
5
| $ cd ~
$ mkdir .epics
$ cd .epics/
$ touch env
$ vi env
|
编辑 env 如下
 1
 2
 3
 4
 5
 6
 7
 8
 9
10
11
12
13
14
| #!/bin/sh
# EPICS base shell setup
export EPICS_BASE="/usr/local/epics/base-7.0.7"
export EPICS_HOST_ARCH=linux-loong64
# affix colons on either side of $PATH to simplify matching
case ":${PATH}:" in
*:"${EPICS_BASE}/bin/${EPICS_HOST_ARCH}":*)
;;
*)
# Prepending path in case a system-installed epics needs to be overridden
export PATH="${EPICS_BASE}/bin/${EPICS_HOST_ARCH}:$PATH"
;;
esac
|
然后修改 .bashrc
在文件最后添加一行
执行下面命令,使添加PATH生效
运行EPICS IOC#
做完上面的步骤,EPICS base的配置就完成了,我们来尝试运行一下。
在终端执行softIoc。
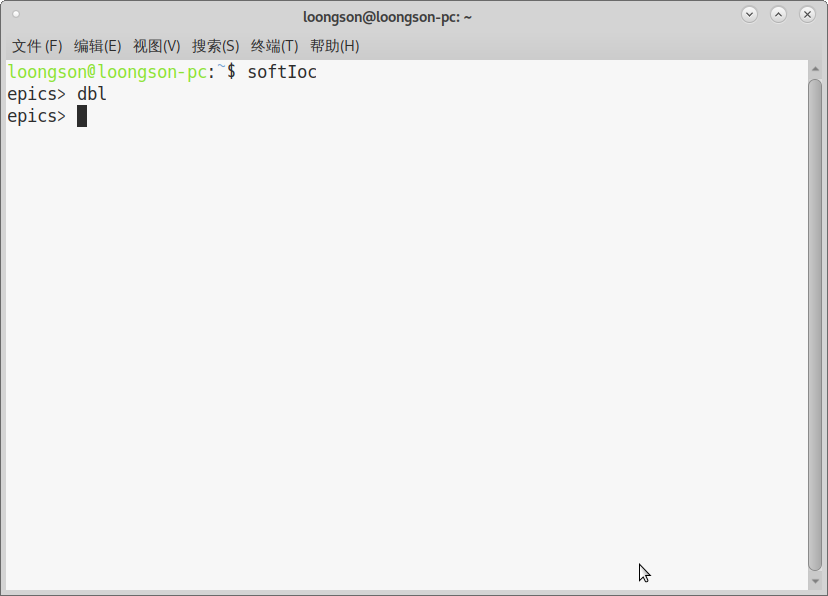
运行正常,大功告成!
只要base可以成功运行,其它的一些模块应该也没有问题,后续我会继续尝试在龙芯上安装EPICS其它的模块。